Using Scratch to Tell a Story
Overview
Scratch language provides a “drag and drop” style of programming language. What can be done can range from quite basic to surprisingly complex tasks. In this activity, students will complete a trans-curricular project which combines computational thinking, art, and language arts. In Scratch, students retell their favourite scene from a novel. This lesson is intended as an introduction to Scratch.
Rationale (Why we are doing this?)
Scratch language provides a way for student to represent learning and showcase creativity while developing computational thinking skills. Often when students re-tell their understanding of characters and events from literature, greater learning occurs.
Materials/Resources
- Access to computers which have a version of Scratch installed for 3 – 4 45 minute lessons.
- Computers should have sound capturing/listening devices (i.e. microphones and headsets)
- Students should have a copy of the novel, story, poem etc. and a specific scene they want to recreate in Scratch.
Context and Background Knowledge
- Student should have basic computer skills such as how to “drag and drop”
- Students should have enough reading skills to understand the basic commands. However, students are encouraged to experiment with the commands in order to create the desired effect.
- Students should have a copy of the novel, story, poem etc. and a specific scene they want to recreate in Scratch.
Curricular Connections (Competencies and Content)
| Access and integrate information and ideas from a variety of sources and from prior knowledge to build understanding | (Language Arts 4) |
| Consider different purposes, audiences, and perspectives in exploring texts | (Language Arts 4) |
| Respond to text in personal and creative ways | (Language Arts 4) |
| Building readiness for computational thinking | (ADST 6) |
Explore + Understand + Create (Key elements/Lesson Design/Format)
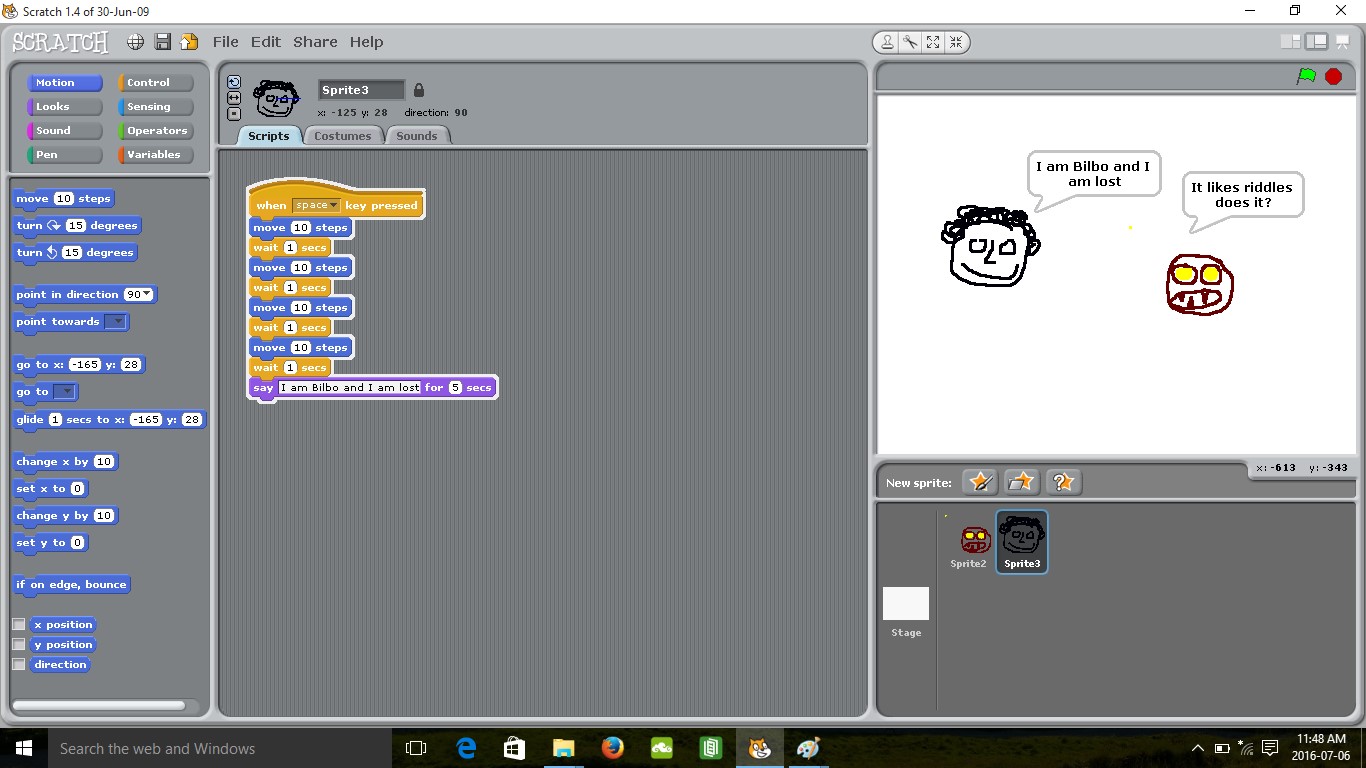
- Students select their favourite scene from literature they have read. For the first time, encourage students to choose a short sequence (i.e. the meeting of two important characters). For example, I chose the meeting of Bilbo and Gollum from The Hobbit.
- Have students open Scratch and demonstrate how to make the “sprite” (the name given to the animated picture of the character) move around the field. This is accomplished by dragging and dropping the commands into the center box and creating a script. These basic commands get you started:
- Highlight “Control” and drag an initiating command into the center box (e.g. “When space key is selected”)
- Highlight “Motion” and then drag and join (it fits like a puzzle) “move 10 steps”
- Highlight “Control” and drag “wait one second” and attach.
- Repeat “B” and “C” – now you have a sequence that moves the sprite across the field as if it was taking steps.
- Highlight “Sound” and drag and attach “play sound” command
- Replace “meow” with “record” and record a short dialogue.
- At this point, you have animated a sprite to move across the field and produce dialogue.
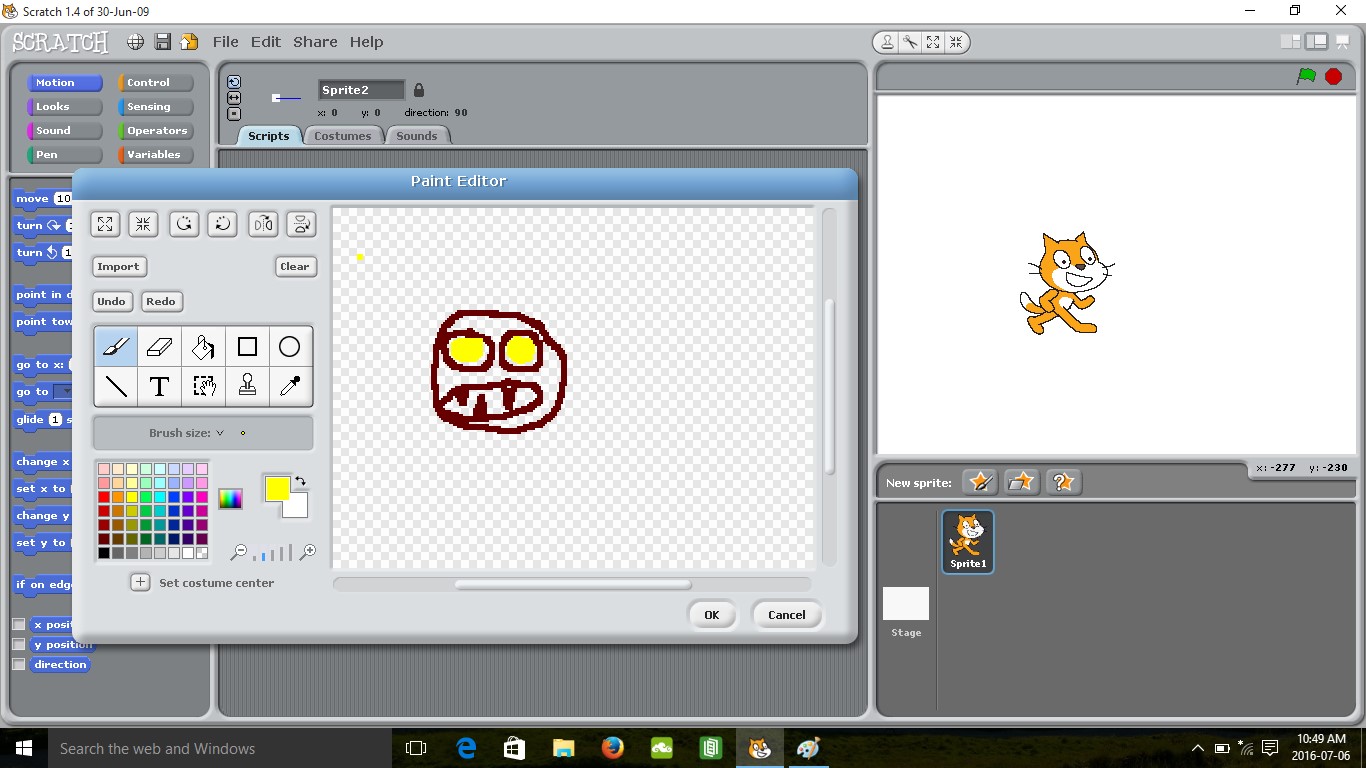
- Students can create their own images with the “paint new sprite” feature. This way, they can create their own rendition of characters from the story (see image below). If creating an image is difficult, students can choose from the assortment provided by Scratch. Student can select the sprite they want to work with on the bottom right.
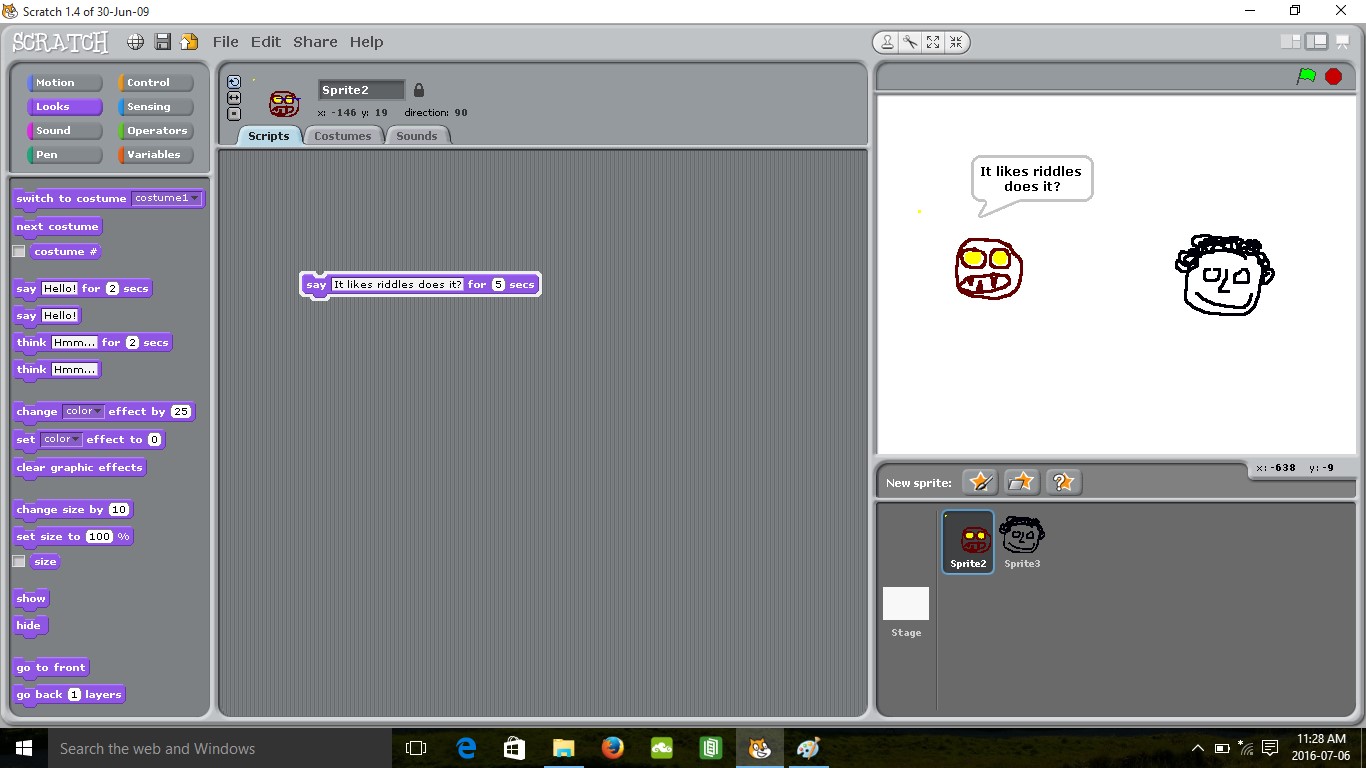
At this point, students can move sprites and create a sound dialogue. Under “Looks” there is also word bubbles to substitute for sound.
- Have students experiment with commands and effects to familiarize themselves with Scratch. It is valuable to have a sharing time for students to pass on effects and commands they have used to accomplish specific goals.
Applications/Adaptations/Extensions
- Accomplishing specific tasks using computational language is an important skill particularly when it overlaps with creative applications.
- Possible adaptations include:
- Importing pictures from those provided in Scratch versus painting.
- Using word bubbles instead of sound capturing if that is not possible or difficult.
- Extensions are many. The depth and nature of Scratch make it possible to have sprites respond to each other, backgrounds can be created. The possibilities are endless.
This image shows how students can create their own “sprite” in Scratch. In this case, a rendition of a character from The Hobbit was created.
This image shows how students can create a word bubble dialogue
This image shows how students can create an interaction between characters and program an animation and dialogue sequence.